Users with Manager or Administrator access clearance can add patrons manually by clicking or tapping PATRONS> Register New Patron when signed into the back office account. Then follow the prompts and on screen instructions to manually add a patron to your database.
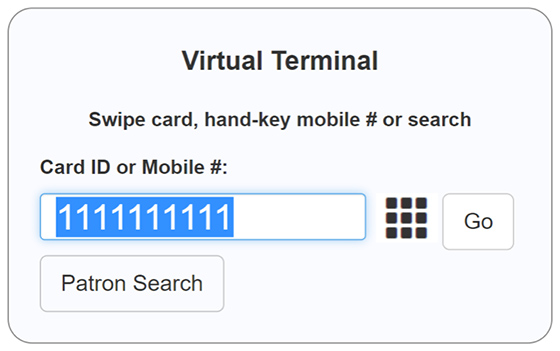
At the Virtual Terminal swipe card prompt, enter any 10 digit number to advance to the next screen. This value can be a real mobile number or fake one (i.e., 1111111111) which allows user to press the Go button and advance. Use a real mobile number if you want your patron to complete signup on their own (read NOTE below for more details).
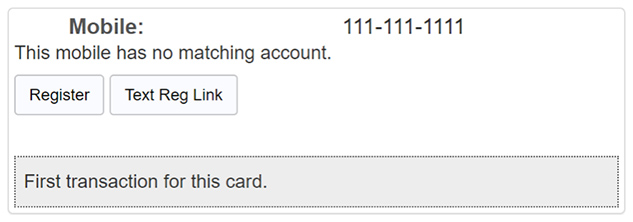
The next screen displays a Register button. Tap Register and follow the on screen instructions to manually add a patron to your database.
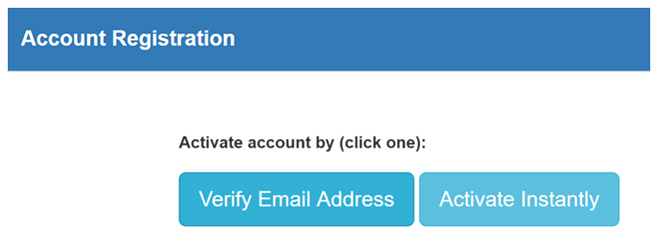
Clerks have two options:
Register by Email: Sends a double opt in verification email with an Activate Button to the patron’s email address. The patron’s account is considered “Activated” when the patron clicks the button sent to their email to confirm their identity. This email is customizable from MARKETING> Automated Promotions> Account Registration inside the back office. This options obeys your account’s SETTINGS> Registration Settings.
Activate Instantly: Activates the patron instantly, on the spot, and dispatches the confirmation messages and incentives (if applicable) as configured in MARKETING> Automated Promotions> Account Activation. This method does not obey your account’s SETTINGS> Registration Settings. Only First Name and Last Name are required fields.
There’s two (2) ways to add a patron manually to your loyalty program database.
Users with Manager or Administrator access clearance can add patrons manually by clicking or tapping PATRONS> Register New Patron when signed into the back office account. Then follow the prompts and on screen instructions to manually add a patron to your database.
At the Virtual Terminal swipe card prompt, enter any 10 digit number to advance to the next screen. This value can be a real mobile number or fake one (i.e., 1111111111) which allows user to press the Go button and advance. Use a real mobile number if you want your patron to complete signup on their own (read NOTE below for more details).
The next screen displays a Register button. Tap Register and follow the on screen instructions to manually add a patron to your database.
Clerks have two options:
Register by Email: Sends a double opt in verification email with an Activate Button to the patron’s email address. The patron’s account is considered “Activated” when the patron clicks the button sent to their email to confirm their identity. This email is customizable from MARKETING> Automated Promotions> Account Registration inside the back office. This options obeys your account’s SETTINGS> Registration Settings.
Activate Instantly: Activates the patron instantly, on the spot, and dispatches the confirmation messages and incentives (if applicable) as configured in MARKETING> Automated Promotions> Account Activation. This method does not obey your account’s SETTINGS> Registration Settings. Only First Name and Last Name are required fields.